
How Data Access and Data Loss Policies Affect Your Inbox
Last updated
When Data Access and Data Loss Policies are enabled, you may encounter alerts or message blocks. This article discusses the types of notifications you may receive while creating or viewing messages.
Open Blocked Messages
Section titled “Open Blocked Messages”XQ policies can block emails from being sent or opened depending on certain criteria. Some examples are:
- Block messages from being opened in a certain country or IP address.
- Block messages if they are sent to a specific email address or email domain.
- Block messages that contain specific keywords (eg. Password, Confidential, etc.)
Each of these blocked messages will contain a notification configured by an XQ admin and will be visible in the XQ Dashboard. Additionally, if you have installed the XQ Chrome Extension or the XQ Outlook Enterprise add-in, you will see these alerts directly within your inbox.
XQ Dashboard
Section titled “XQ Dashboard”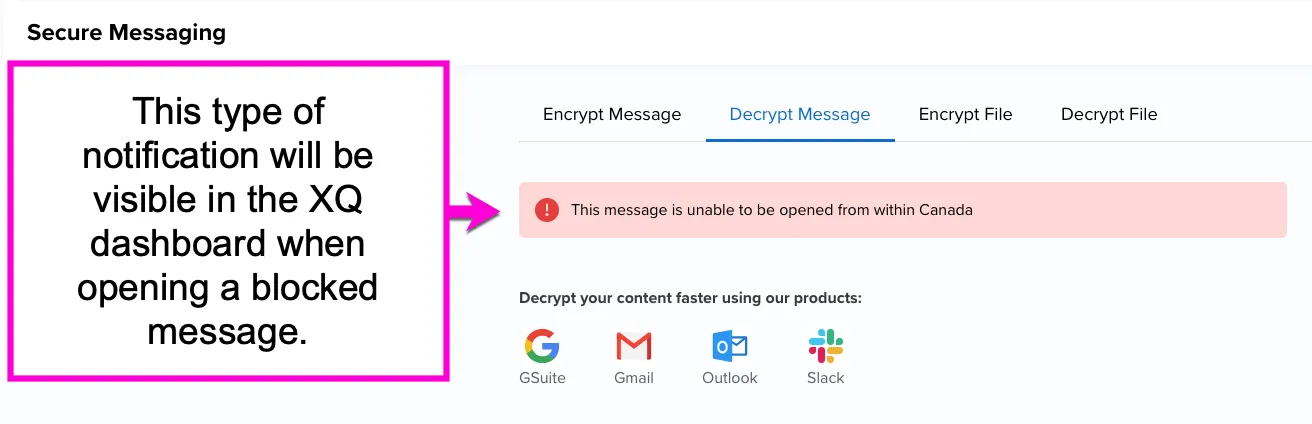
Outlook Add-in and Chrome Extension
Section titled “Outlook Add-in and Chrome Extension”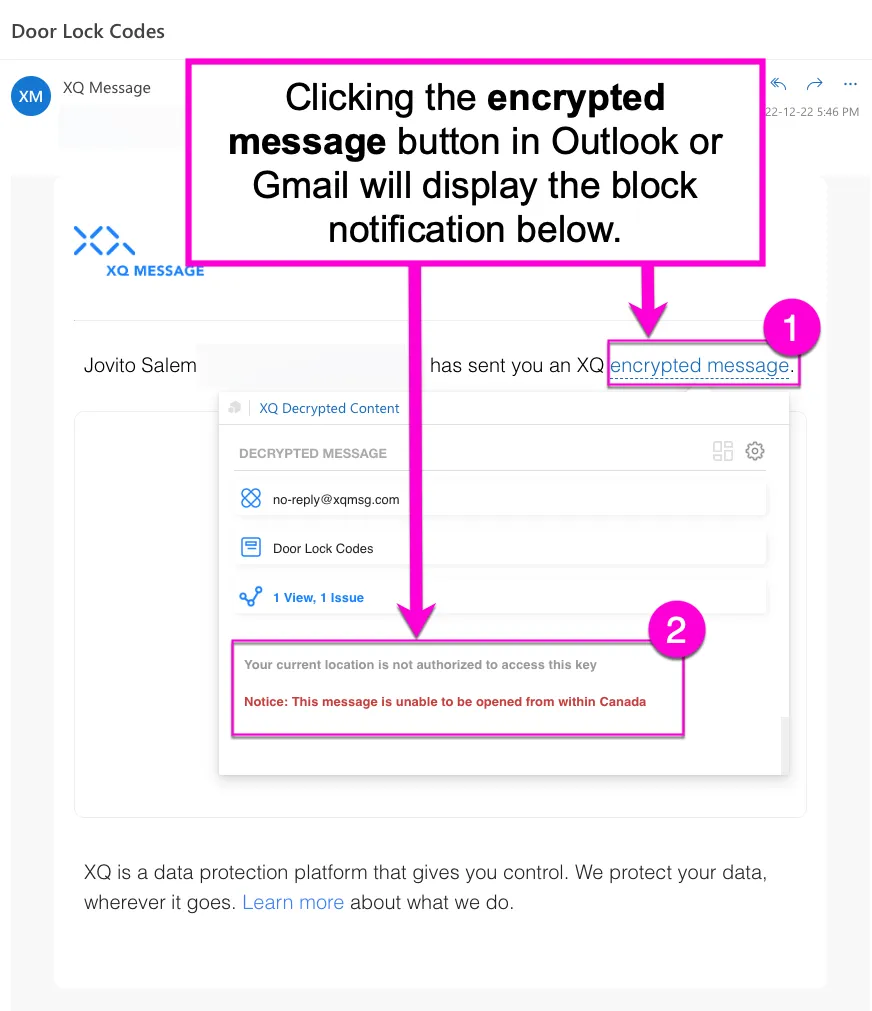
Send blocked messages
Section titled “Send blocked messages”If you are an XQ user attempting to send a message blocked by a Data Loss Prevention policy, you will immediately see the notification in the dashboard or through the Chrome Extension or the Outlook add-in. This will appear immediately after you attempt to hit send.
XQ Dashboard
Section titled “XQ Dashboard”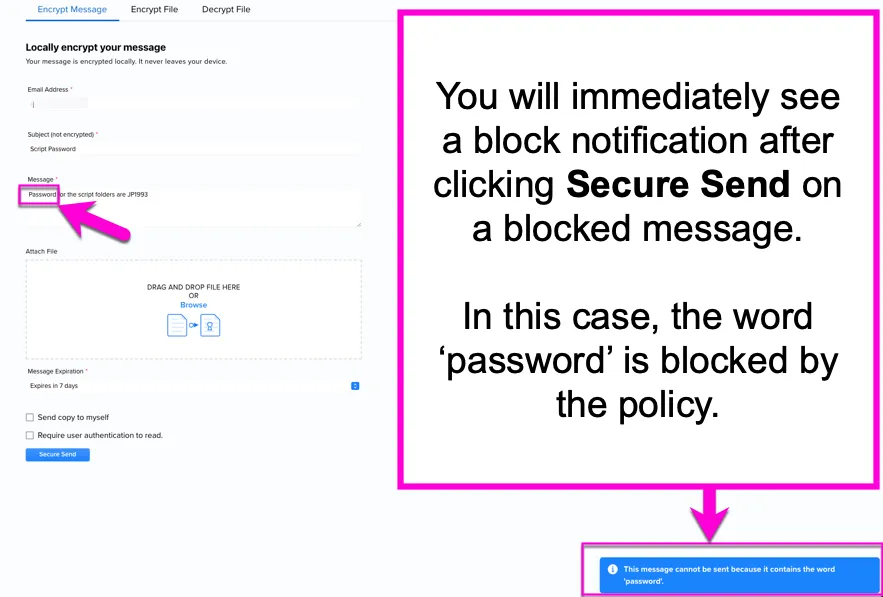
Outlook Add-in and Chrome Extension
Section titled “Outlook Add-in and Chrome Extension”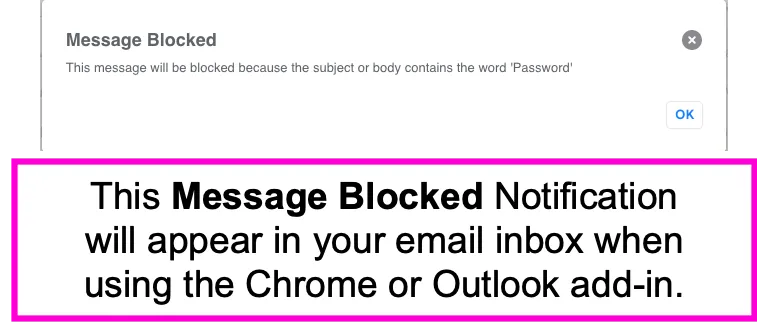
Send auto-encrypted messages
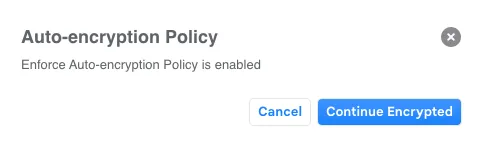
Section titled “Send auto-encrypted messages”As an alternative to blocking messages, XQ policies can auto-encrypt emails depending on specific criteria. For example, an XQ admin can choose to auto-encrypt any messages including the word ‘password’ rather than blocking it altogether. Just like with blocked messages, you can view these notifications immediately after hitting send.
XQ Dashboard
Section titled “XQ Dashboard”
Outlook Add-in and Chrome Extension
Section titled “Outlook Add-in and Chrome Extension”After hitting send in Outlook or Gmail, the auto-encryption notification will immediately appear in a new window. Click Continue Encrypted to proceed.
© Copyright XQ Message Inc. · FAQ