After installing Vault and connecting to a file storage service, you are ready to use Vault to store files securely.
Connect a local folder
- From the Vault Services page, click Connect next to Local folder.

- In the pop-up, click Select Folder.
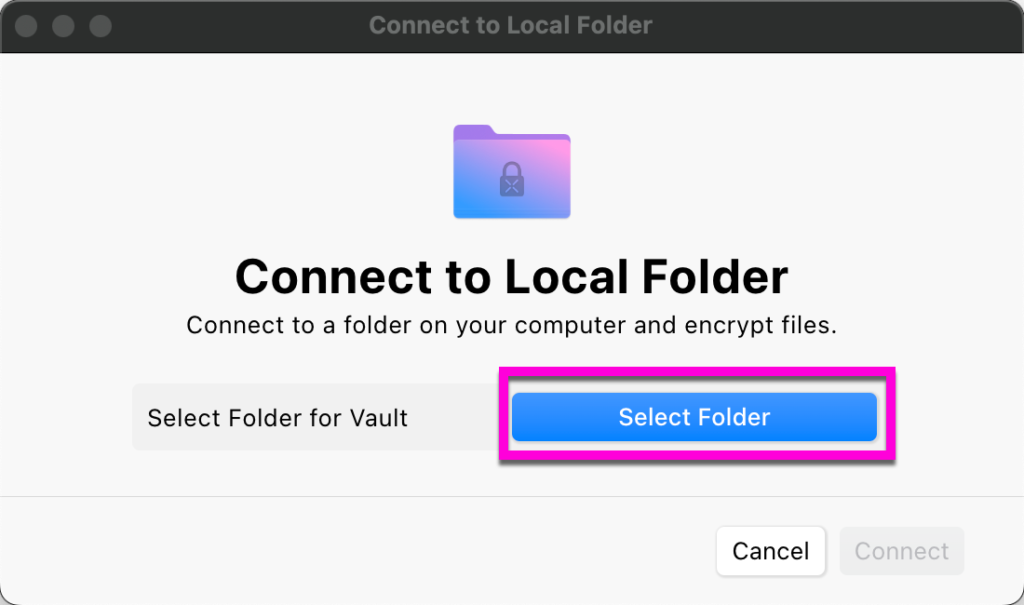
- Select a folder to mount Vault to and click Select Folder.
- Click Connect.
Connect Google Drive
- From the Vault Services page, click Connect next to Google Drive.

- In the pop-up, click Select Folder.
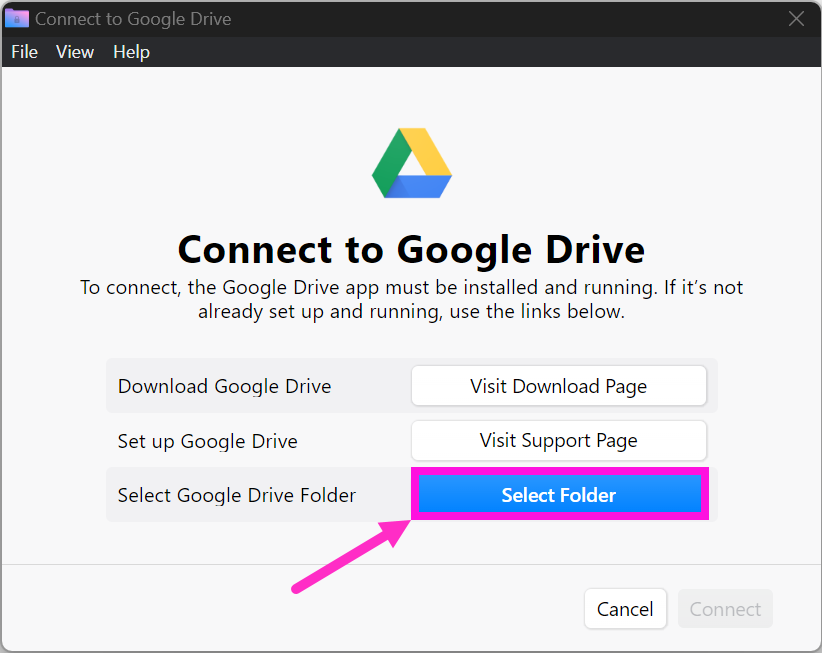
- Select a folder from your Google Drive to mount Vault to and click Select Folder.
- Click Connect.
Connect Microsoft OneDrive
- From the Vault Services page, click Connect next to Microsoft OneDrive.

- In the pop-up, click Select Folder.
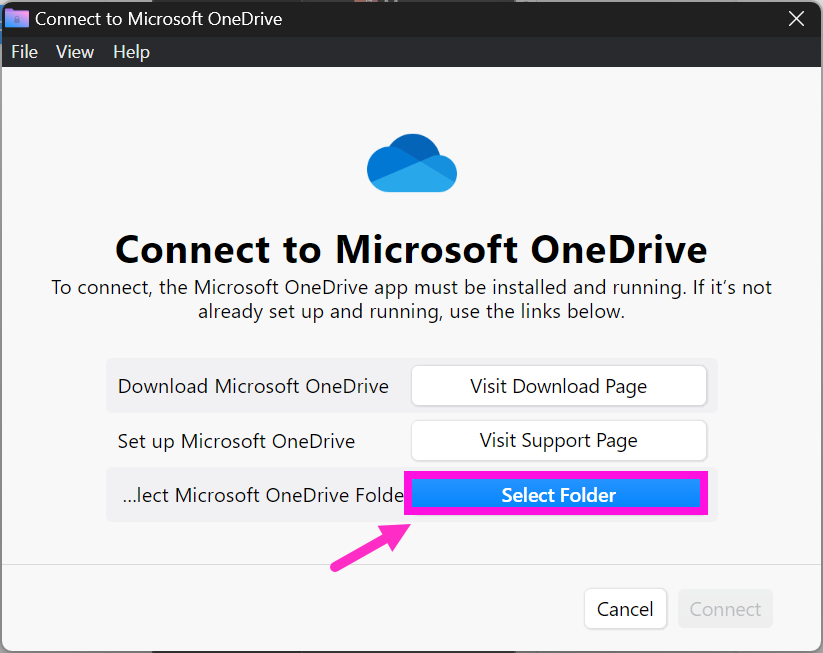
- Select a folder from your Microsoft OneDrive to mount Vault to and click Select Folder.
- Click Connect.
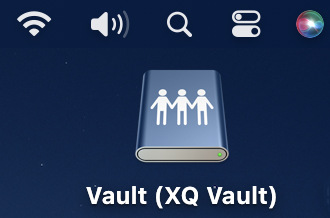
If you are using a Mac, your OneDrive folder should appear in the “Locations” section of Finder. If you don’t see it, you can try restarting Finder. To do this, press Command+Option+Escape, select Finder, and click Relaunch.
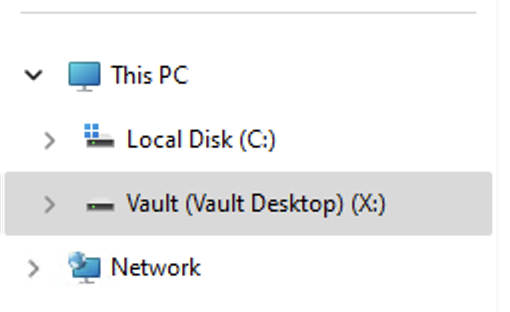
Open your Vault
Your Vault contains all of the encrypted files you have saved, with a designated folder for each file storage service you have connected to. You can access and manage your files in two ways:
- Using the Vault folder on your Desktop (Mac) or This PC (Windows)
- Using the Services page in the Vault application
To open Vault using the Services page, refer to the following steps:
- Launch Vault and click the Services tab in the navigation menu.
- Click the Open Vault Folder button.
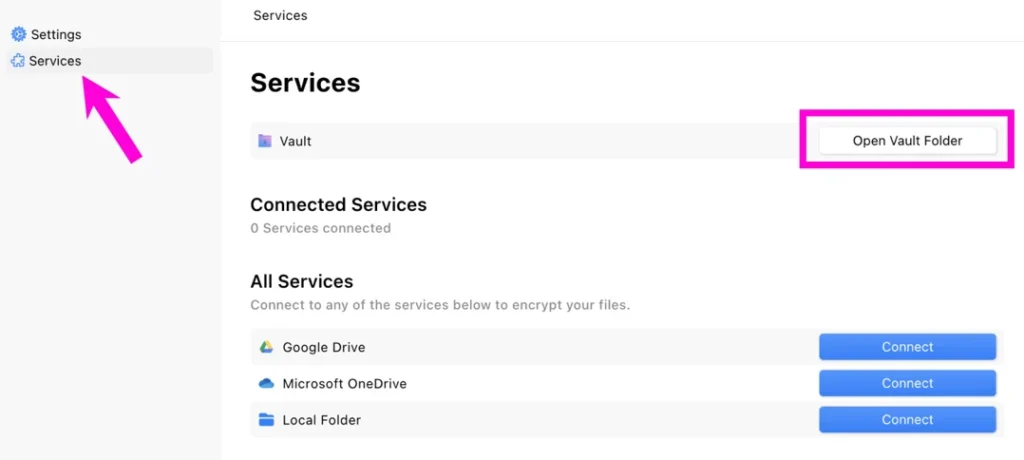
- This launches your Vault folder, the location where you will drag and drop files to be encrypted automatically.
Add files to your Vault
You can encrypt all types of files in your Vault. Some examples include:
- Documents: PDF, DOCX, XLSX…
- Images: PNG, JPG, GIF…
- Audio: MP3, WAV…
- Video: MP4, MPEG…
- And more.
When you add files to your Vault, the files are automatically encrypted. Refer to the following steps to add files to your Vault:
- Launch Vault and click the Open Vault Folder button.
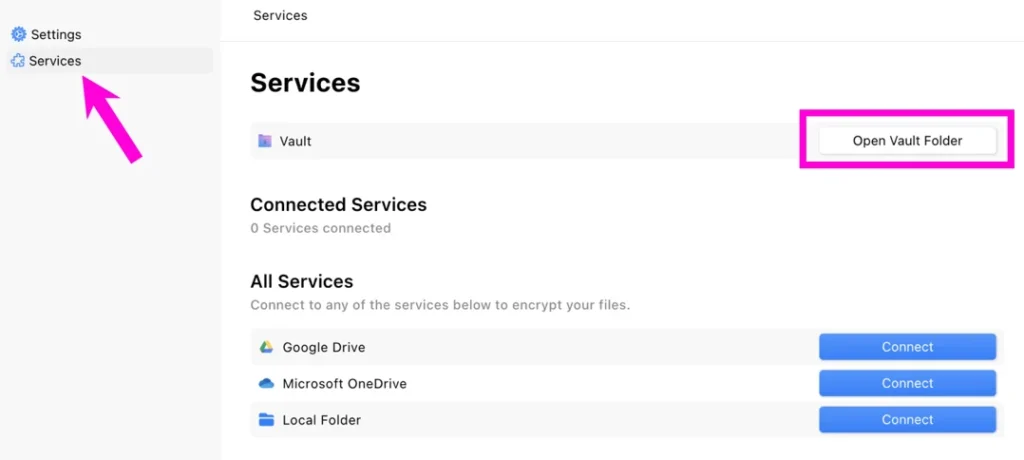
- Once Vault has launched, double-click the folder that corresponds to your connected service (Vault, Local folder, Google Drive, OneDrive, etc.)
- Drag and drop or copy files into the connected folder. These files will be automatically encrypted.
Open files stored in your Vault
- Launch Vault and click the Open Vault Folder button.
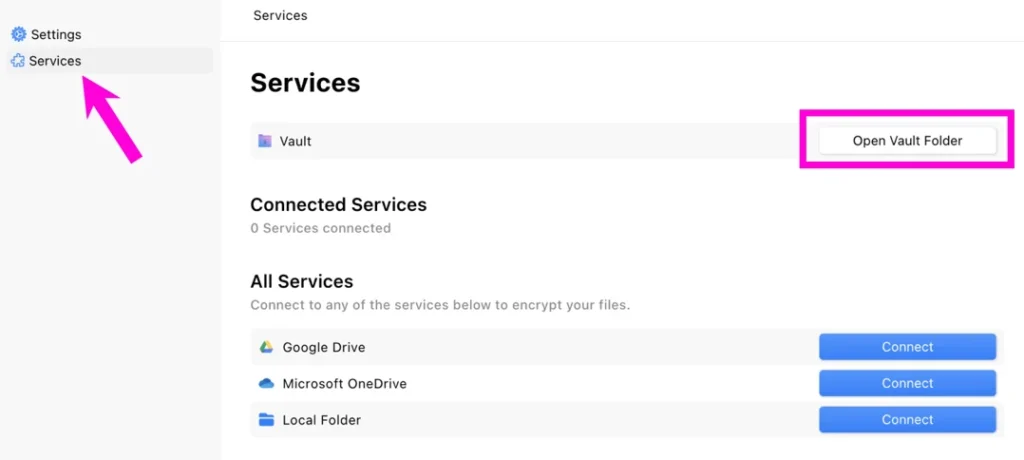
- Once Vault has launched, double-click the folder that corresponds to your connected service (Local folder, Google Drive, OneDrive, etc.)
- Open files as you normally would open them.
- You can edit the opened file and close it. It will automatically re-encrypt with the changes.
Manage files
If you need to manage your encrypted files (moving or deleting them, for example), you can do it from two locations:
- Connected folder – This is the folder you drag and drop files into when you are using Vault to encrypt data. This can be a local folder, a Google Drive folder, or a Microsoft OneDrive folder. This folder works by sending your files to the Vault and then sending your encrypted file to your target folder as a .xqf file.
- Vault folder – This is the folder where your secure .xqf files are stored on your machine. The files in this folder are encrypted.
You can rename, move or delete your files from any of the mentioned folders, and an action on one will be reflected in the other.

Leave a Reply