The XQ Vault allows you to securely store data on your own infrastructure and track who accesses it. This article provides instructions for installing and setting up Vault.
Table of Contents
Install for Windows
- Download the Vault installation file.
- Locate and double-click the .exe file to launch the installer.
- The installer will automatically run in the background. When the installation finishes, launch Vault from your Desktop.
Running Vault and Logging in
- To find Vault on Windows, Select Start > Settings > Apps and look for Vault.
- Sign in to Vault using Microsoft SSO, Google SSO, or enter your email address to receive a magic link.

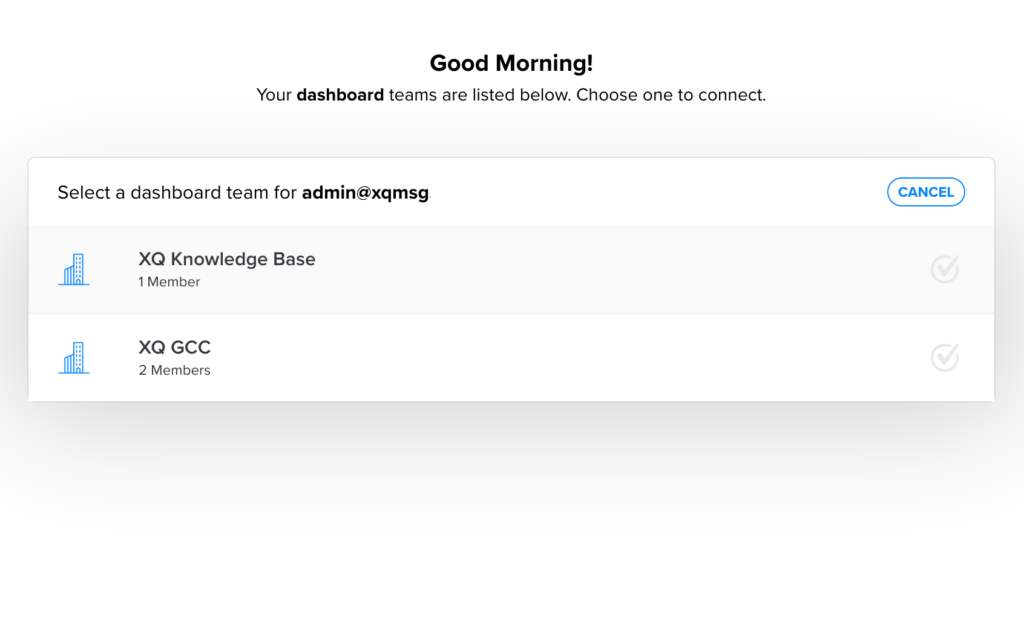
- Once initial sign-in is complete, you will be redirected to a team selection page. When you select your team, additional authentication steps may be required. Once complete, you will be re-directed back to Vault.
- To start using Vault, you must connect the application to a folder.
Use the following guides to connect Vault to a local folder, Google Drive, or Microsoft OneDrive:
Now you’re ready to learn How to Use Vault.
Leave a Reply